Wondering how to split screen on Mac? Click here to learn an easy, step-by-step guide to split screen on all macOS versions.
Multitasking is a must-to-have skill in today’s world. Even advanced gadgets like your MacBook now support multitasking by letting you split the screen. It helps you to work with multiple apps side by side to increase your work productivity.
Splitting your Mac’s screen is different for different macOS versions. You must ensure you follow the proper steps according to your Mac’s OS. The following guide explains how to split screen on Mac for all macOS versions in a step-by-step direction. So, make sure to stick to the end!
How to Split Screen on Different Mac Versions?
Before you learn how to split screen on Mac, ensure that neither of the apps you want to use is full-screen. In other words, open both apps in the Resized window. Resizing means clicking on the maximize button and reducing the window size. In such a case, the window is not minimized to the taskbar and is still visible on the desktop.
Remember that the process to split screen on Mac differs based on your macOS version. So, here is the step-by-step guide on how to split screen on Mac for various macOS versions.
For macOS Catalina or later
Let’s see how to split screen on Mac with macOS Catalina or later:
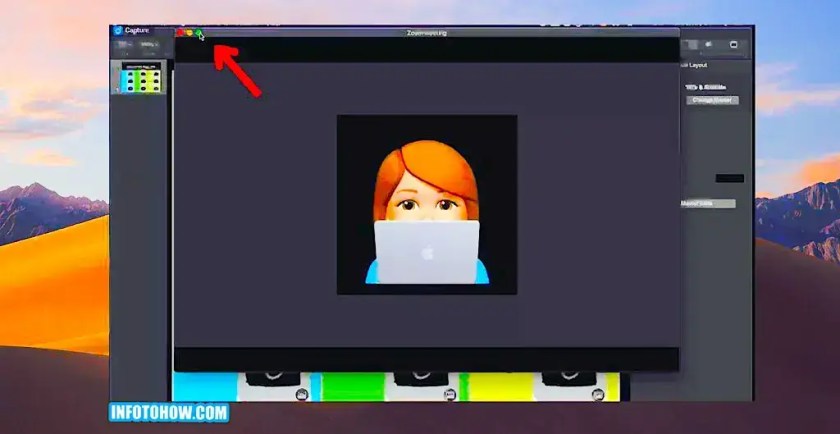
- Take the cursor to the three buttons at the window’s top-left corner. The window can be the first app you want to fit into a split screen.

- Hover the cursor at the green button for a few seconds. Or, click and hold the button until a drop-down menu appears.

- Select “Tile Window to Left of Screen“. Also, you may select “Tile Window to Right of Screen” from the drop-down menu.

- Depending on whether you selected left or right, the window will fit to that side of the screen.
- Do the same with the other app. But if you place the first window on the right side, choose the left option for the second or vice versa.
That’s it; now you can multitask with both windows side by side on your screen.
Also Check: How to Screen Record on Mac?
For macOS Mojave, High Sierra, Sierra, or El Capitan
The following is the step-by-step guide for how to split screen on Mac if you have the following macOS versions:
- Mojave
- High Sierra
- Sierra
- EI Captain
If you have any of these macOS versions on your Mac, follow these steps:
- Move the cursor to the three buttons at the window’s top-left corner.
- Click and hold the green button for a few seconds.
- Keep holding the green button until the window shrinks. Do not release the button. Drag the window to the left or right side of the screen and then release it.

- Select the other window, which will fit the screen’s other side.

This way, both the windows will fit the right and left sides of the screen, and you can multitask efficiently.
Also Check: How To Crop A Screenshot On Mac: Quick Guide
Is there any Keyboard Shortcut for Split Screen on Mac?
You can use the built-in keyboard shortcut on Mac to split Mac’s screen. First, let’s see how to split screen on Mac using the built-in shortcut in the following guide:
- Make sure to open both the apps you want to use in a split screen.
- Press and hold Control + Command + F for a few seconds until you enter the full-screen mode.

- Next, press the F3 key to enter Mission Control, which shows all the opened apps on your Mac.
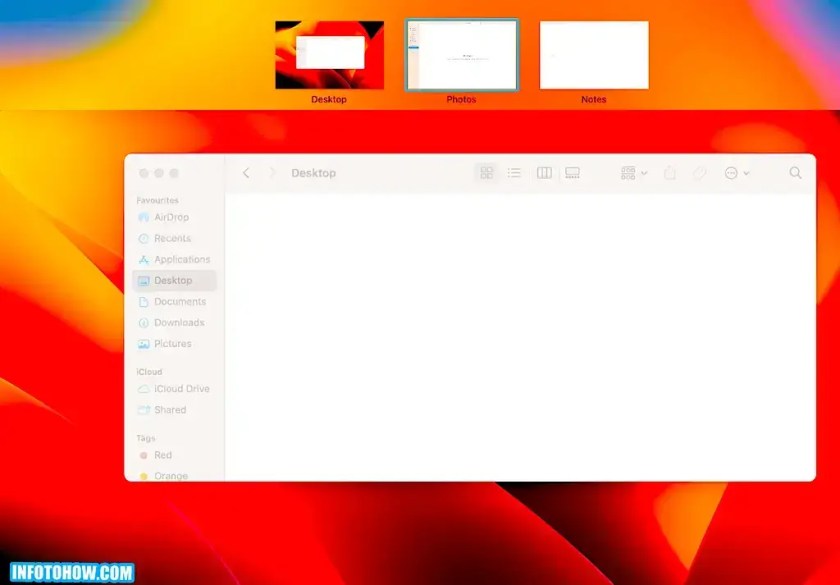
- Find and drag the desired app onto the app currently opened in full screen.

Both apps will open in the split screen view. If you think the above method has too many steps to follow every time you want to split screen, you can create your own shortcut key.
Create Your Own Keyboard Shortcuts to Split Screen on Mac
This is how you can split screen on Mac with your personalized keyboard shortcut:
- Select the Apple icon at the top-left of the screen.

- Click System Settings (or System Preferences) in the drop-down menu.

- A window will appear. Scroll through the left sidebar and select Keyboard.

- Find and select Keyboard Shortcuts on the right side of the window.

- Click App Shortcuts on the left side of the screen.

- Find and click the Add button (it looks like a +).

- Find and add the command Tile Window to the Left of the Screen and select your desired shortcut.

This way, you can create your personalized shortcut for the split screen feature. When you use the shortcut, the active window will fit to the left side of the screen. Then, you can select the second window and drag it to the right side of the screen.
Can’t Enter Split View? Try This!
The “Displays have separate Spaces” feature on macOS manages multiple displays connected to your Mac. If, for any reason, you are unable to split screen on your Mac, chances are this feature is not turned on.
So, let’s learn how to split screen on Mac by enabling the “Displays have separate Spaces” feature on macOS.
- Click the Apple icon to access the Apple menu.

- Select System Settings in the drop-down menu.

- Navigate to Desktop & Dock in the pop-up window. You may need to scroll through the left sidebar to find Desktop & Dock.

- Please scroll through the right side to find the option Displays have separate Spaces and turn it on.

Try splitting the screen by following the methods mentioned above. It will be working fine by now.
Also Check: How To Reset Trial Period On Mac?
Other Reasons Why You Can’t Enter Split View on Mac
The following are some of the reasons that may be behind a failed attempt to enter a split screen on Mac:
- MacOS may prevent split view if the screen resolution is too low or the windows are too large to be open in split view.
- Attempting to split the screen on multiple displays can result in an error. If you are using multiple displays, make sure to split the screen on one display at a time.
- Some apps do not support split view, so you may be unable to view them on a split screen.
Also Check: How to Force Quit on Mac?
How to Exit Split View on Mac?
Once you are done multitasking, you can end the split-screen view by following these steps:
- Hover the cursor to the top-left side of either window.
- Click the green button. This will end the split screen as the other window will span to the full-screen view.

Frequently Asked Questions
Can I use Split View with multiple displays on my Mac?
Why can’t I enter Split View on my Mac even though the “Displays have separate Spaces” option is on?
How do I resize the windows in Split View on Mac?
Also Check: How To Edit A PDF On Mac?
Conclusion
Multitasking becomes even faster when working on a split screen on your Mac. You can fit two windows side by side and boost your work productivity. Besides that, there is a lot you can do in the split-screen view. You can drag one window to the other side to swap window positions. Or, you can adjust the size of the split windows by dragging the vertical line between them.
Lastly, you can switch to other apps while working in a split view. Then, Press F3 (or the Mission Control key) on your Keyboard. Alternatively, swipe left or right with three fingers on the trackpad to switch to other apps.
Also Check: How To Delete Bookmarks On Mac?